Introduction
Flutter is rapidly becoming a favored choice for cross-platform mobile app development due to its capacity to write code once and deploy it universally, ensuring consistent user experiences. Beyond its proficiency in crafting visually captivating interfaces, Flutter provides an array of dependable libraries and plugins to manage diverse tasks, such as the creation of PDF documents. This article delves into the process of generating PDF documents within a Flutter application, paving the way for the automated production of reports, invoices, and various document-based content.
Getting Started
To begin generating PDF documents in a Flutter app, we will use a popular package called PDF. This package provides a simple way to create PDF files programmatically.
Step 1: Create a New Flutter Project
Open your terminal or command prompt and create a new Flutter project:
flutter create my_pdf_app
Navigate to the project directory:
cd my_pdf_app
Step 2: Add the necessary packages
We need 3 packages for our simple example to work:
pdf: helps to create a full multi-page document with graphics, images, and text using TrueType fonts
path_provider: is for finding commonly used locations on the filesystem
easy_pdf_viewer: helps us to view the pdf after it's generated
To add all these packages at once you run the following command
flutter pub add easy_pdf_viewer path_provider pdf
You can open your pubspec.yaml file to confirm whether the pdf package has been added as a dependency:
dependencies:
  flutter:
    sdk: flutter
  easy_pdf_viewer: ^1.0.7
  path_provider: ^2.1.1
  pdf: ^3.10.4
Step 3: Create the needed Classes/Files

We first create a
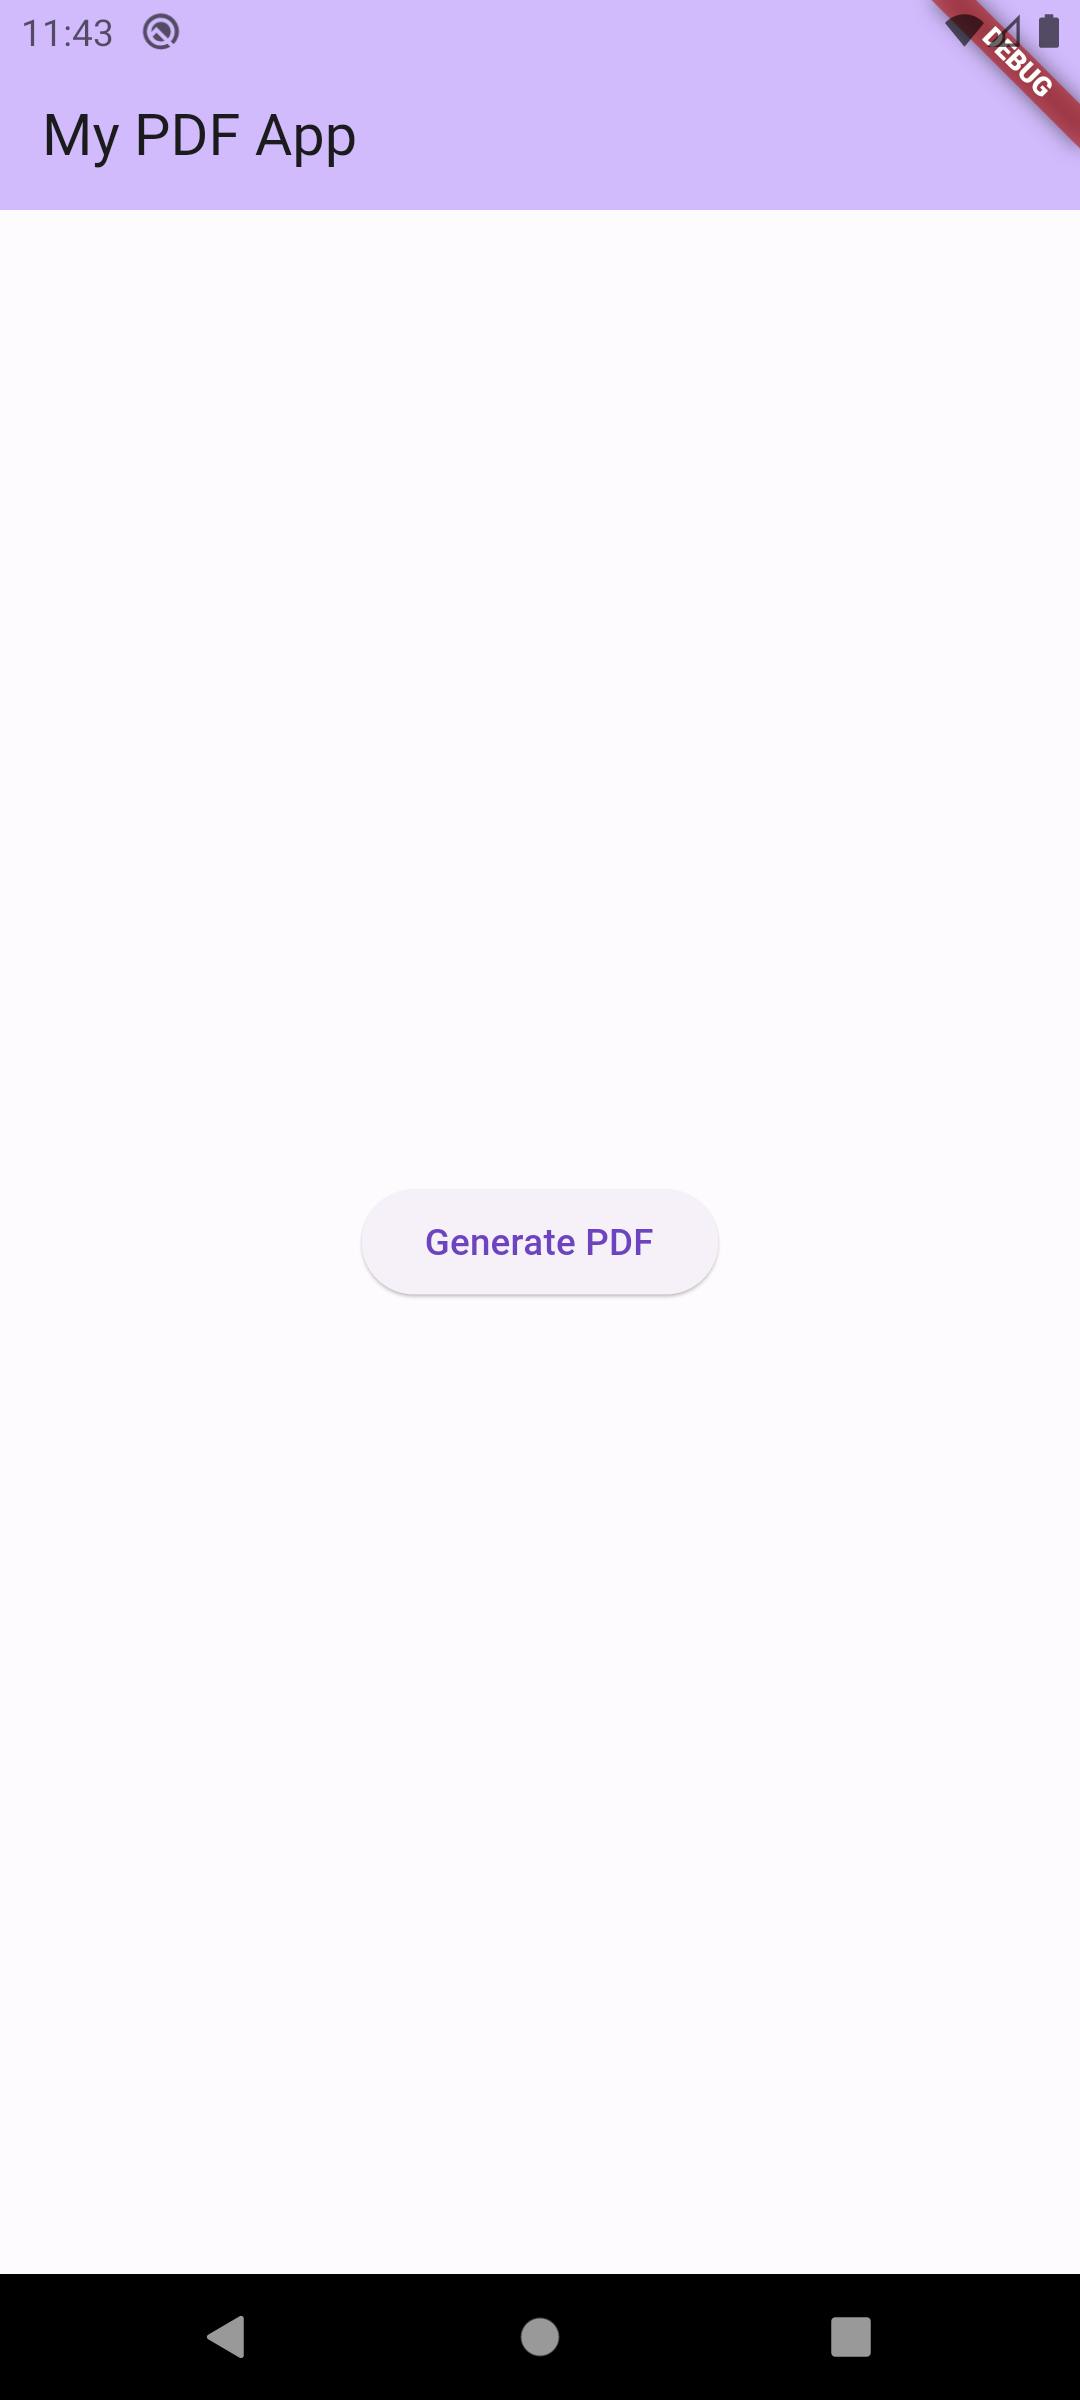
main_screen.dartfile for our main page which we can place underscreensdirectory for a clean app.import 'package:flutter/material.dart'; class MainScreen extends StatefulWidget { const MainScreen({super.key}); @override State<MainScreen> createState() => MainScreenState(); } class MainScreenState extends State<MainScreen> { @override Widget build(BuildContext context) { return Scaffold( appBar: AppBar( backgroundColor: Theme.of(context).colorScheme.inversePrimary, title: const Text('My PDF App'), ), body: Center( child: ElevatedButton( onPressed: () async { // our action of PDF Generation goes here }, child: const Text('Generate PDF'), ), ), ); } }Let's adjust our
main.dartto point to the MainScreen classimport 'package:flutter/material.dart'; import 'screens/main_screen.dart'; void main() { runApp(const MyApp()); } class MyApp extends StatelessWidget { const MyApp({super.key}); @override Widget build(BuildContext context) { return MaterialApp( title: 'My PDF App', theme: ThemeData( colorScheme: ColorScheme.fromSeed(seedColor: Colors.deepPurple), useMaterial3: true, ), home: const MainScreen(), ); } }Lets create a
pdf_utils.dartfile underutilsdirectoryimport 'dart:io'; class PdfUtils { PdfUtils._(); static Future<File> generatePDF() async { final pdfFile = File(); } }
Step 4: Create a PDF Document
Next, improve our generatePDF function so that it can be to generate a PDF document as we intended.
import 'dart:io';

import 'package:pdf/pdf.dart';
import 'package:pdf/widgets.dart' as pw;

class PdfUtils {
  PdfUtils._();
  static Future<File> generatePDF() async {
    final pdfFile = File();

    pdf.addPage(
      pw.Page(
        margin: const pw.EdgeInsets.all(10),
        pageFormat: PdfPageFormat.a4,
        build: (pw.Context context) {
          return pw.Center(
            child: pw.Text(
              "This is a text!",
              style: pw.TextStyle(
                fontSize: 30,
                color: PdfColors.red900,
                fontWeight: pw.FontWeight.bold,
              ),
            ),
          );
        },
      ),
    );
    return pdfFile;
  }
}
Let's break down the code step by step:
Import Statements: The import statements bring in the necessary libraries and packages for working with PDFs.
dart:iois imported for file manipulation, and thepdfpackage is used for creating and manipulating PDF documents. Theas pwalias is used to make it easier to work with thepdfpackage's widgets.PDF Generation:
   pdf.addPage(
     pw.Page(
       margin: const pw.EdgeInsets.all(10),
       pageFormat: PdfPageFormat.a4,
       build: (pw.Context context) {
         return pw.Center(
           child: pw.Text(
             "This is a text!",
             style: pw.TextStyle(
               fontSize: 30,
               color: PdfColors.red900,
               fontWeight: pw.FontWeight.bold,
             ),
           ),
         );
       },
     ),
   );
This code snippet adds a page to the PDF document using the
pdfpackage'saddPagemethod. It defines the page's properties, such as margins, page format (A4 in this case), and the content to be displayed on the page. In this example, the page contains a centered text element with specific styling.The
buildfunction defines the content of the page. In this case, it returns apw.Centerwidget containing a text element.
This code however when you run will not show anything until you do the next actions outline below.
Step 5: Saving the PDF Document to Storage
We will need to improve the generatePDF function so that it can first of all save the generated PDF
import 'dart:io';
import 'dart:developer' as logger show log;

import 'package:path_provider/path_provider.dart';
import 'package:pdf/pdf.dart';
import 'package:pdf/widgets.dart' as pw;

class PdfUtils {
  PdfUtils._();

  static Future<File> generatePDF() async {
    final pdf = pw.Document();
    // fetching a directory to save our pdf to
    Directory filePath = await getApplicationDocumentsDirectory();

    pdf.addPage(
      pw.Page(
        margin: const pw.EdgeInsets.all(10),
        pageFormat: PdfPageFormat.a4,
        build: (pw.Context context) {
          return pw.Center(
            child: pw.Text(
              "This is a text!",
              style: pw.TextStyle(
                fontSize: 30,
                color: PdfColors.red900,
                fontWeight: pw.FontWeight.bold,
              ),
            ),
          );
        },
      ),
    );

    final pdfFile = File('${filePath.path}/my_example.pdf');
    logger.log('Saved to: ${pdfFile.path}');
    await pdfFile.writeAsBytes(await pdf.save());
    return pdfFile;
  }
}
This Dart code defines a utility class called PdfUtils that generates a PDF document using the pdf package and saves it to the device's file system. Let's break down the code step by step:
Importing Dependencies where I have added 2 more:
dart:developer as logger: This alias imports thelogfunction from thedart:developerlibrary, allowing you to log messages.package:path_provider/path_provider.dart: This package is used to get access to the device's file system, specifically the application's document directory.
Creating the PDF Document:
- It starts by creating a new
pw.Documentobject, which will represent our PDF document.
- It starts by creating a new
Getting the Document Directory:
getApplicationDocumentsDirectory()is an asynchronous function from thepath_providerpackage. It retrieves the application's document directory, which is a platform-specific directory where you can store user data. This directory is a suitable location for saving user-generated files like databases and in this case PDFs.
Defining the PDF File Path:
- It specifies the file path where the generated PDF will be saved using
File('${filePath.path}/my_example.pdf'). ThefilePathvariable contains the path to the application's document directory.
- It specifies the file path where the generated PDF will be saved using
Logging the File Path:
- The code logs the path where the PDF file will be saved using
logger.log(). This can be helpful for debugging purposes to know where the file is stored.
- The code logs the path where the PDF file will be saved using
Saving and Returning the PDF:
Returning the File:
- Finally, the method returns the
Fileobject representing the saved PDF file.
- Finally, the method returns the
Step 6: Displaying the PDF Document
To use this PdfUtils class in the utils directory, I have to call the generatePDF() method, and it will generate a PDF document with the specified content and save it to the application's document directory. I can then use this generated PDF file as needed in my app. The modified main_screen.dart will now look like this:
import 'package:easy_pdf_viewer/easy_pdf_viewer.dart';
import 'package:flutter/material.dart';

import '../utils/pdf_utils.dart';

class MainScreen extends StatefulWidget {
  const MainScreen({super.key});

  @override
  State<MainScreen> createState() => MainScreenState();
}

class MainScreenState extends State<MainScreen> {
  late PDFDocument pdfDoc;

  void openPdfViewer() {
    final pdfViewer = PDFViewer(document: pdfDoc);
    Navigator.push(
      context,
      MaterialPageRoute(builder: (context) => pdfViewer),
    );
  }

  @override
  Widget build(BuildContext context) {
    return Scaffold(
      appBar: AppBar(
        backgroundColor: Theme.of(context).colorScheme.inversePrimary,
        title: const Text('My PDF App'),
      ),
      body: Center(
        child: ElevatedButton(
          onPressed: () async {
            final pdf = await PdfUtils.generatePDF();
            pdfDoc = await PDFDocument.fromFile(pdf);
            openPdfViewer();
          },
          child: const Text('Generate PDF'),
        ),
      ),
    );
  }
}
In this code, when I press the "Generate PDF" button, the generatePDF function is called, which generates the PDF document. To display the PDF, you can use packages like easy_pdf_viewer, which allow users to view PDF files within the app in a separate screen called the PDFViewer.

Conclusion
As you have seen generating a PDF Document is as easy as writing a normal widget tree except that you have to work with pw.Document in all your widgets. The usual widgets you are used to have to be derived from the pw which is an alias of the pdf package. Also you won't need write permissions on your device be it Android or iOS if you intend to save the PDF on the application's document directory, which is a platform-specific directory.
You can find the source code for the app I built when writing this tutorial on Github:
In the next article which will be a continuation of this one, I will address producing advanced PDF Documents that involve more than one page with tables. Happy Coding!


