Setting the screen size of your Flutter Desktop App at Startup

Getting to build a desktop app using Flutter may not seem as easy as sitting by the beach enjoying the breeze as you sip a cocktail of your favourite flavour. Because one thing you are going to realize as much as you are knowledgeable in using Flutter or you are coming from a different framework for desktop could it be Windows, Linux or macOS is that some aspects of implementing your app design will need you to find workarounds before you can proceed such as that I wrote of recently of Creating a Custom Floating Search Bar for your Flutter Desktop App.
In this article, I have decided to write about the screen size though I will be updating this article later on with information from Linux because at the moment I have only information from building a Flutter Desktop app on Windows and MacOS. I am glad a friend of mine was generous to lend me his macbook to build my app (currently available on Android only) on iOS though I decided to extend to macOS to see some things for myself and gain the experience that comes with building on various platforms.
Default Window Size of a Typical Flutter Desktop App
When you create a flutter app by default it will come with the sizes of windows as below:
- A width of 1280 and a height of 720 is what you get on Windows (WinApi) as well as on Linux (GTK)
FlutterWindow window(project);
Win32Window::Point origin(10, 10);
Win32Window::Size size(1280, 720);
if (!window.Create(L"flutter_application_1", origin, size)) {
  return EXIT_FAILURE;
}
window.SetQuitOnClose(true);
source: windows/runner/main.cpp
gtk_window_set_default_size(window, 1280, 720);
gtk_widget_show(GTK_WIDGET(window));
source: linux/my_application.cc
- A width of 800 and a height of 600 is what you get on macOS (AppKit)
<window title="APP_NAME" allowsToolTipsWhenApplicationIsInactive="NO" autorecalculatesKeyViewLoop="NO" releasedWhenClosed="NO" animationBehavior="default" id="QvC-M9-y7g" customClass="MainFlutterWindow" customModule="Runner" customModuleProvider="target">
    <windowStyleMask key="styleMask" titled="YES" closable="YES" miniaturizable="YES" resizable="YES"/>
    <rect key="contentRect" x="335" y="390" width="800" height="600"/>
    <rect key="screenRect" x="0.0" y="0.0" width="2560" height="1577"/>
    <view key="contentView" wantsLayer="YES" id="EiT-Mj-1SZ">
        <rect key="frame" x="0.0" y="0.0" width="800" height="600"/>
        <autoresizingMask key="autoresizingMask"/>
    </view>
</window>
source: macos/Runner/Base.lproj/MainMenu.xib
A Desktop Plugin: desktop_window
Of all of them, macOS is a great disappointment based on the fact that its window size is the smallest of them almost half. But don't worry Mr. Flutter Developer because we have a plugin to help us fix that. It's the desktop_window plugin.
The desktop_window Flutter plugin provides a platform-independent way to manage windows in desktop applications developed using Flutter. This plugin allows developers to control the position, size, and title of windows, as well as their visibility and fullscreen state. It also provides methods to maximize, minimize, and restore windows, and to set their topmost status. It's an essential tool for Flutter developers building desktop applications, as it enables them to provide a more native experience for their users while maintaining cross-platform compatibility.
import 'package:desktop_window/desktop_window.dart';

Future testWindowFunctions() async {
    Size size = await DesktopWindow.getWindowSize();
    print(size);
    await DesktopWindow.setWindowSize(Size(500,500));

    await DesktopWindow.setMinWindowSize(Size(400,400));
    await DesktopWindow.setMaxWindowSize(Size(800,800));

    await DesktopWindow.resetMaxWindowSize();
    await DesktopWindow.toggleFullScreen();
    bool isFullScreen = await DesktopWindow.getFullScreen();
    await DesktopWindow.setFullScreen(true);
    await DesktopWindow.setFullScreen(false);
}
While the desktop_window plugin is a powerful tool for managing windows in desktop applications developed with Flutter, there are certain limitations to what it can do. For example, the plugin currently cannot set the window size or position at startup, as this functionality is dependent on the platform-specific window manager. Additionally, it cannot set the window's maximize state, as this is also dependent on the platform-specific window manager. However, the plugin provides methods for setting the window's initial visibility and fullscreen state, as well as methods for changing these states during runtime. Developers should be aware of these limitations when using the desktop_window plugin and plan their application's UI accordingly.
Setting the window size and maximising state at the startup
Windows
You can adjust the window size to your taste on windows by altering figures in line 29 of the file
windows/runner/main.cppWin32Window::Size size(1280, 720);Changing the maximising state will now be done in line 153 of the file
windows/runner/win32_window.cppby changing the parameter in the ShowWindow function from SW_SHOWNORMAL to SW_MAXIMISEbool Win32Window::Show() { return ShowWindow(window_handle_, SW_SHOWNORMAL); }Linux
Adjusting the window size on Linux is not very different to Windows. All you have to do is alter the figures in line 50 of the file
linux/my_application.ccgtk_window_set_default_size(window, 1280, 720);To set the window to maximize on startup we will need to add the line below under the one we just altered in line 50.
gtk_window_fullscreen(window);MacOS
When it comes to macOS things are very different because we won't need to alter any code in the MainMenu.xib file. We have Xcode to help us to alter everything we need including the menus and general feel of the NSWindow.
a. Open your Flutter project on Xcode by clicking on
macos/Runner.xcodeproj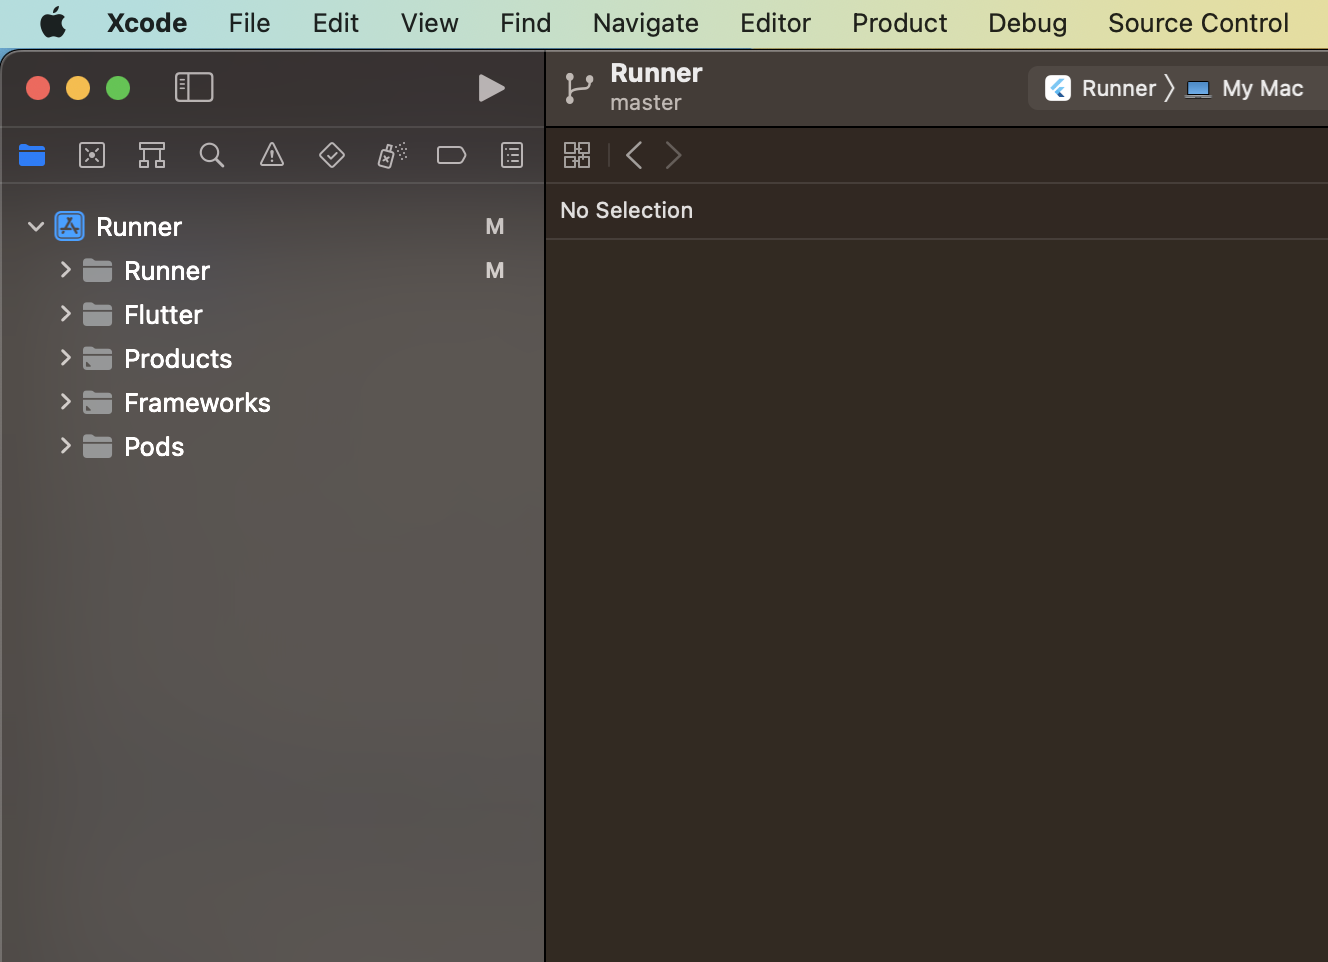
b. Click On Runner folder to reveal the underlying items after which you will click on Resources to reveal the items under it.

c. Click on MainMenu (MainMenu.xib), after which you will click on APP_NAME which is on the inside sidebar.

d. Now move to the right sidebar and from there alter the figures and options as you wish.

That is how easy it can get if you want to customize your Flutter Desktop app's screen size at startup.
That is it for this one see you at the next one
Don't fail to Follow me here on Hashnode and On
Twitter @ JacksiroKe | Linked In Jack Siro | Github @ JacksiroKe


